
The personal curriculum trend for creatives with chronic illness in mind
I am at a point in my health journey where I’ve learned what I can and can’t do and what I do and don’t need. I will easily fall into the trap of starting my day by doom scrolling and then moving over to video games after breakfast and before I know it, three hours have gone by and I’ve done nothing for myself or my family or my business. I also need to put joyful and happy things in front of me at all times to help with my mood.
I started googling how to romanticize the seasons and all of a sudden these videos about personal curriculum started popping up. I was instantly hooked.
I searched through YouTube to find out how people were creating these personal curriculums. My favorite videos were by Alice Bow and Janelle Hugel.
As I planned my own personal curriculum I knew I would need to make some adjustments because of my chronic illness (POTS/Lyme/etc).
Most people follow either a semester schedule or a monthly schedule for their curriculum. But I can’t guarantee how I’m going to feel hour to hour let alone what an entire month or season will look like for me. So I needed goals but goals that I wasn’t going to feel guilty for missing. After all, this project is supposed to infuse more creativity and joy in my life and not be a stressor.
I decided to structure my curriculum as follows:
Subject > Study Area > Module > Lessons/Resources
Rather than a due date or timeline for each module I decided to go with a percentage goal. So I can do things at my own pace but I’m motivated to get that 100% completion on the board.
I’m calling it my “Life Syllabus” — in addition to general things I want to learn, this houses my goals and dreams for the immediate future.
I kept the modules to tangible things rather than long-term goals. Things that can easily be completed within a few months.
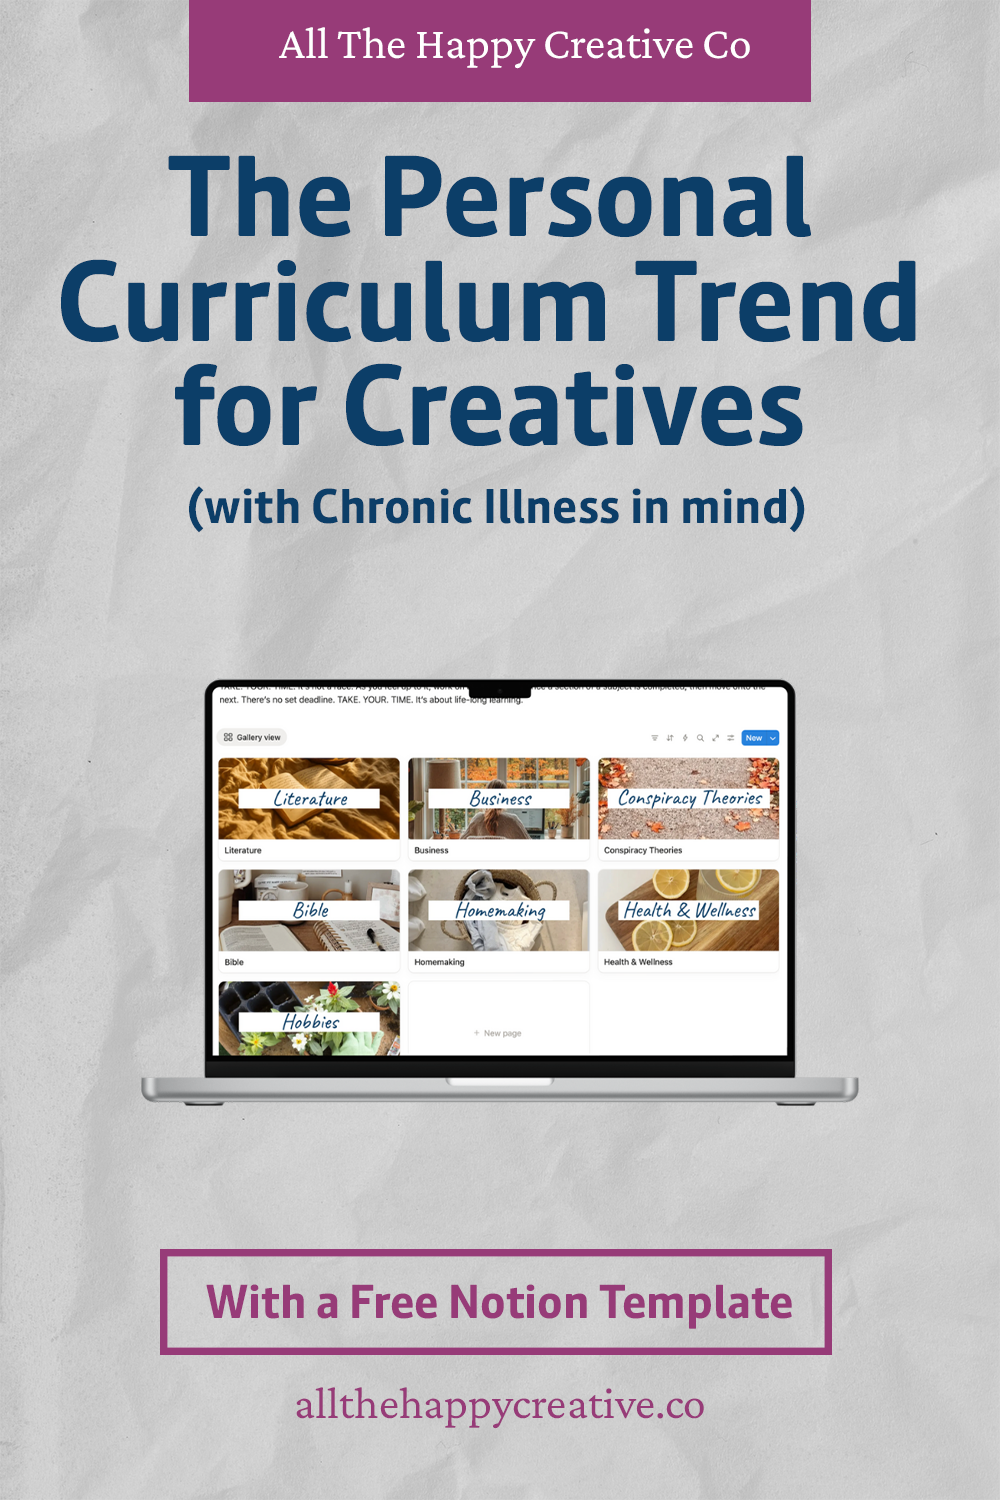
I created a page in Notion and used a Gallery Database as the main hub for my Life Syllabus. All cover images I made in Illustrator and the photos came from my November aesthetic board.
As a creative I needed everything to mesh with my business branding which is why I went for making titles in Illustrator and uploading them as images.
Inside each Topic you will find the Subjects that make up that topic.
For fun, to name each Subject/Module I decided to go with a college course naming system (which is ironic considering I only went to college for one year and hated it). You can keep it simple for yourself or make up your own system!
I have no rules for myself with this syllabus. I can add to it or take from it as needed. Nothing is perfect and everything is fluid. Usually I put so much pressure on myself to make something perfect before I even get started but maybe I’m just desperate at the moment and quickly need more motivation and joy in my life.
This system has already given me something I didn’t realize I was missing — a sense of purpose and playful structure in my days. It’s part creative outlet, part gentle accountability.
How to Create Your Own Life Syllabus
Before you start, remember: this isn’t about productivity or perfection. It’s about building joy, curiosity, and a little bit of structure into your everyday life.
1. Decide on your Core Subjects.
You can have as many or as few subjects as you’d like and you can be as broad or niche as you’d like...
My Current Subjects: Literature, Business, Conspiracy Theories, Bible, Homemaking, Health & Wellness, Hobbies.
Other Subject Ideas: Work Experience, History, Geography, Nature, DIY, Art History, Music, Hand Lettering, Digital Art, Piano, Cooking, Culture, Fashion…the options are endless.
2. Plan Out Your Study Areas
Once you’ve chosen your main subjects—like Health, Home, or Creativity—it’s time to plan out your study areas. Think of study areas as the hands-on, practical parts of each subject.
For example, one of my areas is Hobbies so my study areas include:
HOB 101: Video Games
HOB 110: Classic Films
HOB 201: Sewing
HOB 120: Mini Zines
HOB 210: Cross Stitching/Embroidery
Each study area gives you something specific to focus on—something you can actively do or learn about in depth. The goal is to take a big, sometimes vague topic (like “Health”) and break it into manageable, meaningful parts that move you forward.
When you’re deciding on your study areas, ask yourself:
What do I actually want to get better at?
What problems do I want to solve?
What habits do I want to build or refine?
Pick 2–4 study areas per subject to start. You can always add or adjust them later. The point isn’t to create a rigid system—it’s to give your learning some direction, so your personal growth feels intentional instead of overwhelming.
3. Create a List or Database of Resources, Projects, and Activities
Now that you’ve mapped out your subjects and study areas, it’s time to gather what you’ll actually learn from. This step is where your Life Syllabus starts to take shape.
Step 1: Create a list of resources
Think of resources as your “course materials.” These can be anything that helps you grow in that area — books, podcasts, videos, online courses, or even people you can learn from.
For example, some of the resources for my “Healing with Food” study area include (note: I have not yet read/watched any of these resources so I cannot vouch for their accuracy or quality):
Books to read:
How Not to Die: Discover the Foods Scientifically Proven to Prevent and Reverse Disease by Michael Gregar, MD and Gene Stone
Encyclopedia of Healing Foods by Michael T Murray, Joseph Pizzorno, and Lara Pizzorno
The Healing Powers of Herbs and Spices: A Complete Guide to Nature's Timeless Treasures by Cal Orey
Documentaries to watch:
Not every study area will need a list of resources — some may just need activities and that’s okay!
Step 2: Plan activities or projects
It’s great to have all the knowledge of my study areas but to help me remember it and to create fun memories, I’ve put together activities and projects to put what I’ve learned into action.
For example, under my Hobbies subject I am working on making mini zines. I have ideas for random ones to do but I am adding “create a zine” for many of my subject areas — I’ll have mini zines about Nancy Drew, my favorite healing foods, and tips for creating a routine as a creative with chronic illness.
Step 3: Keep it realistic.
You don’t need ten books and five projects per topic. Choose 1–3 key resources to start with. The goal isn’t to consume everything—it’s to apply what you learn.
Step 4: Make a plan for how you’ll use them.
Decide how and when you’ll engage with your resources.
Will you read for 20 minutes a day?
Watch a video once a week?
Practice a new skill on weekends?
Creating a rhythm helps your learning actually stick.
Step 5: Track what you learn.
As I read and watch the resources I’ve left space in Notion for me to take notes. You can do this inside Notion or handwrite in a notebook. With my chronic illnesses I 1) lose things easily and 2) I get a lot of pain in my joints and muscles which makes handwriting difficult at times so I like to keep things digital.
Use whatever fits your lifestyle. Write down takeaways, small wins, and next steps. Over time, this becomes your personal “course record.”
4. Make Your Life Syllabus Part of Your Routine.
You can set aside one day a week to focus on it or sprinkle it into little pockets of time throughout your days. The point isn’t to “finish” your syllabus — it’s to live it.
Don’t want to start your Life Syllabus Notion page from scratch? Check out a template here!
What are you putting on your life syllabus? It’s like turning your everyday life into a cozy little classroom — one where you get to design the lessons, choose the topics, and grade yourself only on joy.